If you’re looking to create a sleek, professional, and durable laser marking name plate, you’re in the right place. Whether it’s for industrial equipment, office branding, or personalized gifts, laser marking offers precision and longevity.
1. Understanding Laser Marking Basics
Before designing your laser marking name plate, it’s essential to grasp how laser technology works. Unlike traditional engraving, laser marking uses a focused beam to etch designs onto materials without physical contact. This method ensures crisp lines, intricate details, and resistance to wear.
Key benefits of laser marking include:
- Permanence: Marks won’t fade, scratch, or corrode easily.
- Precision: Ideal for small text, logos, or QR codes.
- Versatility: Works on metals, plastics, glass, and more.
2. Selecting the Right Material for Your Laser Marking Name Plate
Your material choice impacts aesthetics, durability, and cost. Let’s compare popular options:
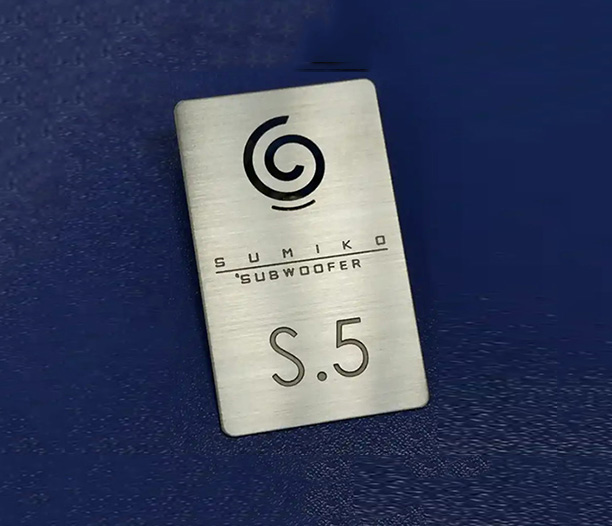
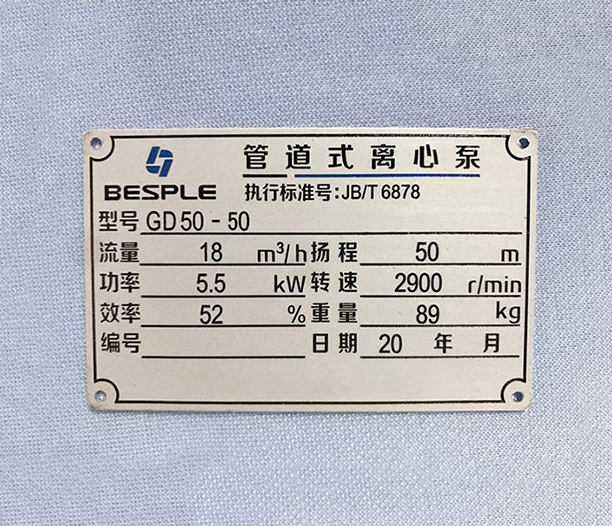
A. Stainless Steel
- Pros: Rust-resistant, industrial-grade, polished finish.
- Cons: Higher cost; requires high-powered lasers.
- Best For: Machinery labels, outdoor use.
B. Anodized Aluminum
- Pros: Lightweight, affordable, vibrant color options.
- Cons: Less scratch-resistant than steel.
- Best For: Office signage, tech gadgets.
C. Acrylic
- Pros: Glossy finish, budget-friendly, easy to cut.
- Cons: Not ideal for high-heat environments.
- Best For: Retail displays, decorative name plates.
3. Designing Your Name Plate with Software
Now, let’s translate your idea into a digital design. Use vector-based software like Adobe Illustrator or CorelDRAW for clean, scalable results.
Step 1: Set Up the Canvas
- Define dimensions (e.g., 4” x 2”) and resolution (300 DPI minimum).
- Add bleed areas if needed for cutting.
Step 2: Create Text & Graphics
- Use bold, sans-serif fonts (e.g., Arial, Helvetica) for readability.
- Avoid ultra-thin lines; lasers may struggle with details under 0.5mm.
- Convert all text to outlines to prevent font errors during marking.
Step 3: Add Safety Margins
- Keep critical elements 0.25” away from edges to avoid cutting mishaps.
4. Configuring Laser Settings for Optimal Results
Laser settings vary by material and machine type (CO2 vs. fiber lasers). Here’s a quick cheat sheet:
| Material | Power (Watts) | Speed (mm/s) | Frequency (Hz) |
|---|
| Stainless Steel | 60-100 | 200-400 | 20-50 |
| Anodized Aluminum | 30-50 | 500-800 | 5-20 |
| Acrylic | 10-20 | 100-300 | 500-1000 |
Important Notes:
- Always test settings on scrap material first.
- Adjust power/speed to avoid burning (too slow) or faint marks (too fast).
5. Preparing the Laser Marking Machine
Safety first! Follow these steps before firing up the laser:
- Clean the material surface to remove dust or oils.
- Secure the name plate with clamps or tape to prevent shifting.
- Calibrate the laser focus using the machine’s Z-axis tool.
- Run a boundary test to ensure alignment.
Pro Tip: Use air assist to reduce scorch marks on plastics.
6. Executing the Laser Marking Process
Ready to mark? Hit “start” and monitor the first pass. Check for:
- Consistency: Uniform depth and color.
- Legibility: Text should be sharp under bright light.
- Alignment: No skewed logos or text.
If issues arise, tweak settings and retest. Patience here saves time and materials!
7. Post-Processing Your Laser Marking Name Plate
After marking, add finishing touches:
- Cleaning: Wipe away residue with isopropyl alcohol.
- Coating: Apply clear lacquer on metals to prevent oxidation.
- Mounting: Attach adhesive backing or drill holes for screws.
8. Quality Control & Troubleshooting
Even pros face hiccups. Here’s how to fix common problems:
Problem: Faded Marks
- Solution: Increase laser power or slow down speed.
Problem: Burnt Edges
- Solution: Lower power or raise the focal point.
Problem: Misaligned Text
- Solution: Recalibrate the laser bed and redesign with proper margins.
9. Scaling Up: Batch Production Tips
Need 100+ units? Streamline your workflow with these hacks:
- Use jigs (templates) to position multiple plates at once.
- Automate file processing with laser software plugins.
- Partner with a local supplier for bulk material discounts.
10. Why Choose Laser Marking Over Alternatives?
Still on the fence? Compare laser marking to other methods:
| Method | Durability | Cost | Turnaround |
|---|
| Laser Marking | ⭐⭐⭐⭐⭐ | $$ | 1-3 days |
| Screen Printing | ⭐⭐ | $ | <1 day |
| Sticker Labels | ⭐ | $ | <1 hour |
Laser marking wins for long-term use and premium branding.
Final Thoughts
Designing a laser marking name plate might seem intimidating at first, but with the right tools and testing, anyone can master it. Remember: material choice, precise settings, and post-processing make all the difference. Whether you’re a DIY enthusiast or a business owner, laser-marked plates offer a polished look that lasts for decades.