So, you need a stainless steel nameplate? Awesome choice! These little workhorses are everywhere – from heavy machinery humming in factories to sleek panels on medical devices and even that fancy appliance in your kitchen. Why? Because stainless steel nameplates are tough, look professional, and last practically forever. But designing one isn't just about slapping some text on metal. Getting it right means it looks sharp, does its job perfectly, and withstands whatever you (or the environment) throw at it. Let's break down how to design killer stainless steel nameplates.
1. Why Stainless Steel? Understanding Your Material MVP
Before diving into fonts and finishes, let's talk why stainless steel is often the gold standard for durable identification:
- Built to Last: Seriously tough stuff. Resists corrosion (think rust!), chemicals, extreme temperatures, UV rays, and physical abrasion. Your stainless steel nameplate won't fade or peel like cheaper labels.
- Professional Polish: It just looks high-quality. Whether you go for a shiny mirror finish or a rugged brushed look, stainless conveys reliability and permanence.
- Safety First: Non-porous and easy to clean, making it perfect for food processing, medical equipment, pharmaceutical, and cleanroom applications where hygiene is critical.
- Fire Resistant: Doesn't burn or emit toxic fumes – a crucial factor in many industrial and building code settings.
The most common grades for stainless steel nameplates are 304 and 316. 304 is your solid all-rounder. If your nameplate faces harsh chemicals or salt spray (like marine environments), 316 ("marine grade") with its extra molybdenum is the way to go.
2. Define the Mission: What's Your Nameplate's Job?
Not all stainless steel nameplates are created equal. What's its primary function? This drives everything else in your design:
- Permanent Identification: Branding, model numbers, serial numbers? Needs to be ultra-durable and legible forever. Think deep engraving or etching.
- Safety & Compliance: Warning labels, safety instructions, electrical ratings? Demands high contrast, instant readability, and strict adherence to standards (OSHA, ANSI, ISO, UL). Bold text and specific symbols are key.
- Instructional/Directional: Operating instructions, control panel labels, flow diagrams? Requires clear layout, logical flow, and often graphical elements.
- Aesthetic Branding: Enhancing the look of a product? Focuses on finish, texture, and integrating seamlessly with the product design.
- Asset Tracking: Barcodes (1D or 2D like QR codes), RFID inlays? Needs precise marking for scanners and space for the tech.
Knowing the core purpose tells you how tough it needs to be, how critical the readability is, and what information is non-negotiable.
3. Size Matters: Finding the Perfect Fit
Don't just guess! Consider:
- The Real Estate: Where is this stainless steel nameplate going? Measure the available space accurately. Remember mounting hardware needs room too!
- Readability Rules: How far away will people be reading it? Tiny text on a large machine is useless. Ensure fonts are large enough for comfortable reading at the intended distance.
- Content Load: How much info must be on there? Prioritize ruthlessly. Overcrowding kills readability. If you have tons of data, consider multi-line layouts, symbols, or even a separate manual/serialized database.
- Aesthetic Balance: For branding plates, size impacts proportion. A tiny plate on a large panel looks lost; an oversized one looks clunky.
4. The Art of Legibility: Fonts, Layout & Contrast
This is where design meets function head-on for your stainless steel nameplate:
- Font Choice is Critical: Ditch fancy scripts! Stick to clean, sans-serif fonts (like Arial, Helvetica, Verdana equivalents). They're easier to read, especially at smaller sizes or when stamped/etched. Ensure adequate stroke width – thin lines can fill in or become illegible during manufacturing.
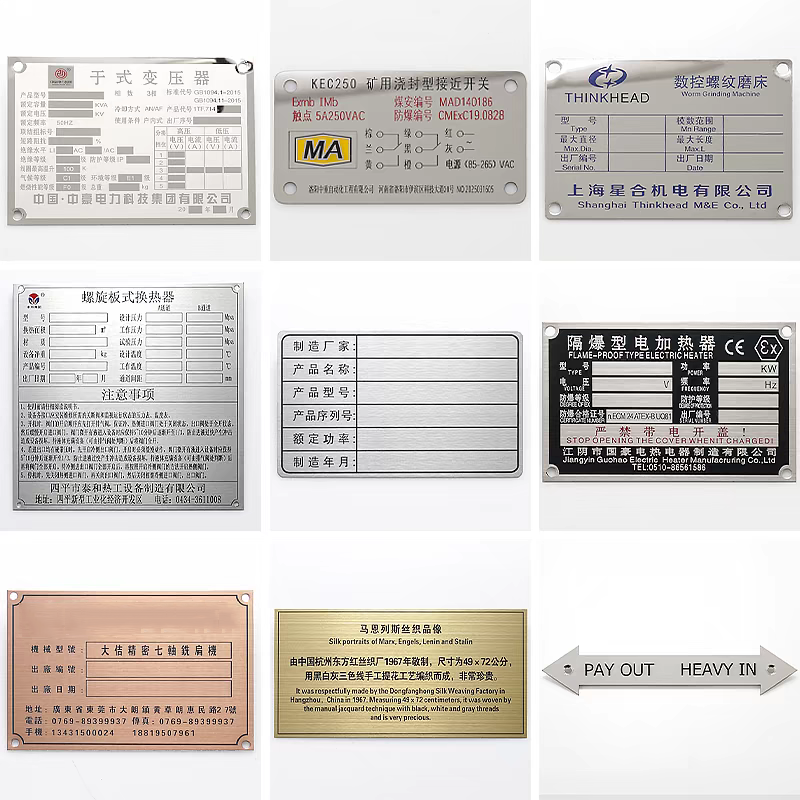
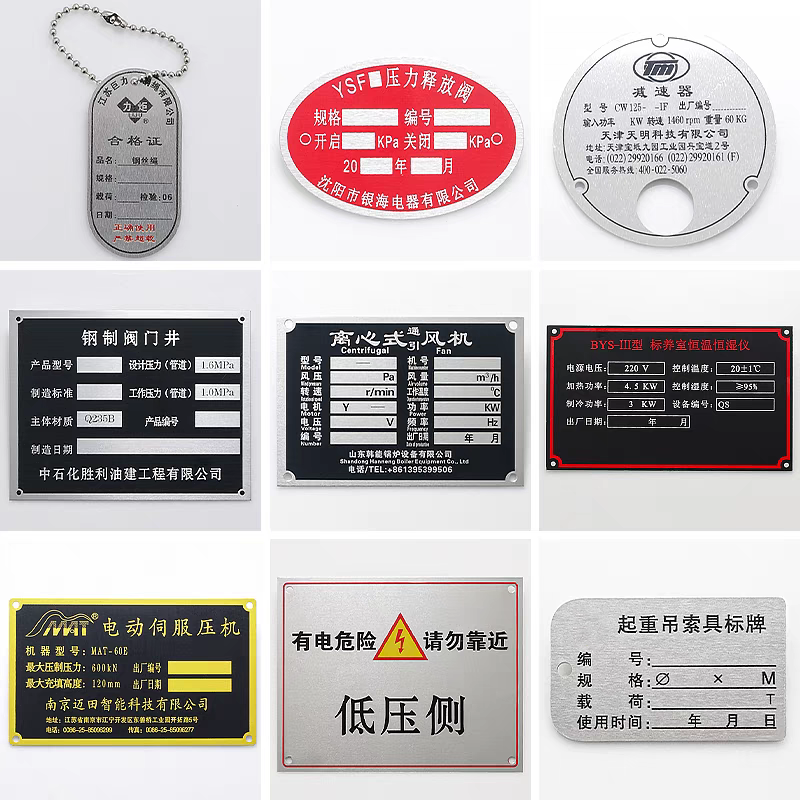
- Contrast is King: How will the information stand out against the metal background? Common methods:Etched & Filled: Laser or chemical etching creates recesses filled with durable paint (black, white, colors) for excellent contrast.Stamped: Characters are physically pressed in. Great depth and durability, contrast often comes from the shadow or paint fill.Screen Printed/Digital Printed: Ink applied directly onto a prepared surface. Best for flat plates and complex graphics, but durability depends heavily on the ink and overcoat.Embossed/Debossed: Raised or recessed lettering/designs. Creates tactile feel and visual interest, often relying on light/shadow for contrast.
- Layout Logic: Organize information hierarchically. Most important info (warning! model number!) should be most prominent. Use white space effectively. Align elements consistently. Group related information.
- Symbols Speak Volumes: Use standardized symbols (like warning triangles, electrical icons) wherever possible. They transcend language barriers and are recognized instantly.
5. Making Your Mark: Manufacturing Methods Explored
How you create the information on your stainless steel nameplate impacts cost, durability, and appearance:
- Photo Chemical Etching (PCE): Super precise. Creates intricate designs, logos, and fine text by chemically dissolving metal through a mask. Ideal for complex graphics, shallow markings, and thin gauges. Excellent for filled plates.
- Laser Engraving/Marking: Versatile and fast. Lasers can etch, anneal (create dark marks without depth), or ablate (remove surface coating). Great for serialization, barcodes, and detailed graphics. Depth is usually shallower than stamping.
- Stamping/Pressing: The classic method for deep, durable characters. Uses hardened steel dies to physically deform the metal. Best for simpler text and logos where extreme durability is paramount. Higher initial tooling cost, but very cost-effective for large runs.
- Screen Printing / Pad Printing: Apply ink onto the surface. Good for color logos and graphics. Requires a very smooth surface and durable inks/overcoatings for longevity, especially outdoors or in harsh conditions.
- Digital Printing: Directly prints full-color graphics onto specially coated plates. Offers the most design flexibility visually, but long-term durability in harsh environments is still catching up to traditional methods. Needs robust over-lamination.
6. Finishing Touches: Look, Feel & Protection
The finish on your stainless steel nameplate affects its appearance, feel, and sometimes even its performance:
- Brushed (Satin): Very popular. Hides fingerprints and minor scratches well. Offers a clean, professional, non-glare look. Direction (linear, circular) matters aesthetically.
- Polished (Mirror): High shine, very reflective. Looks premium but shows every fingerprint and scratch. Often used for decorative applications.
- Bead Blasted (Matte): Uniform, non-directional, low-glare finish. Excellent for reducing reflectivity and providing a modern, understated look. Hides handling marks decently.
- Embossed/Debossed Textures: Adds a tactile dimension beyond just the marking.
- Protective Coatings: Clear coatings (like acrylics or polyurethanes) can be applied over printing or bare metal to enhance scratch and chemical resistance. Vital for protecting printed graphics or maintaining a pristine polished finish in harsh settings.
7. Mounting Mastery: Keeping it Secure
Your beautiful stainless steel nameplate is useless if it falls off! Choose the right mounting method:
- Adhesive: High-performance industrial adhesives (like 3M VHB tapes) are incredibly strong, clean, and vibration-resistant. Perfect for smooth, clean surfaces. Surface prep is crucial!
- Mechanical Fasteners: Rivets, screws, stand-offs. The most secure method, especially for thick plates, high vibration, extreme environments, or uneven surfaces. Requires drilling holes in both the plate and the mounting surface.
- Welding: Permanent and ultra-secure, but requires specialized equipment and can distort thin plates or affect the surrounding finish.
- Integral Tabs/Lugs: Parts of the nameplate itself are bent to form mounting points. Common on control panels.
8. Don't Forget the Details: Specs & Standards
- Thickness (Gauge): Ranges from thin foils (0.002" - 0.005") for adhesive-backed labels to thick plates (0.025" - 0.060"+). Thicker = more rigid and durable, but also heavier and more expensive. Match thickness to the environment and mounting method.
- Corners: Sharp corners can snag or be a safety hazard. Specify radiused corners (e.g., 0.030", 0.060", 0.125") for safety and a more finished look.
- Compliance: If your stainless steel nameplate needs to meet specific standards (UL, CSA, MIL-SPEC, RoHS, REACH), state this upfront! It impacts material choice, marking methods, inks, and adhesives.
9. Partnering with Your Supplier: Communication is Key
Finding a good manufacturer for your stainless steel nameplates is half the battle. Here's how to collaborate effectively:
- Provide Clear Artwork: Vector files (AI, EPS, PDF) are best for crisp text/logos. Include fonts or outline them. Specify exact colors (Pantone).
- Detailed Specifications: Don't assume! Clearly state material grade (304, 316), thickness, finish (brushed direction?), marking method, colors, mounting, corner radii, and any applicable standards.
- Prototypes (Especially for Complex Jobs): Getting a physical sample before full production can save headaches and cost. Essential for critical branding or complex layouts.
- Ask Questions: Good suppliers are experts. Leverage their knowledge about best practices, material suitability, and manufacturing constraints.
10. Bringing It All Together: Your Design Checklist
Before you hit "send" on your stainless steel nameplate order, run through this quick list:
- Purpose Crystal Clear? (ID, Safety, Instruction, Branding, Tracking)
- Size & Location Verified? Measured the space?
- Material & Grade Correct? (304 vs 316?)
- Thickness Suitable? For durability and mounting.
- Marking Method Chosen? (Etch/Fill, Laser, Stamp, Print?) Does it ensure lifelong legibility?
- Font Legible? Sans-serif, adequate size/stroke width?
- Contrast Sufficient? Will it be readable in its environment?
- Layout Logical & Uncluttered? Hierarchy clear? White space used?
- Finish Specified? (Brushed, Polished, Bead Blasted?)
- Mounting Method Secure? (Adhesive type, fasteners specified?)
- Corners Radiused? For safety and aesthetics.
- Compliance Needs Addressed? (UL, ANSI, etc.)
- Artwork Clean & Accurate? Vector files? Fonts outlined? Colors specified?
- Supplier Onboard? They understand all requirements?
Wrapping Up: The Power of a Well-Designed Plate
Taking the time to thoughtfully design your stainless steel nameplate pays off big time. You get an identification solution that's not just durable, but truly effective. It communicates clearly, enhances safety, reinforces your brand, and stands up to years of harsh use without flinching. By considering the material, purpose, legibility, manufacturing process, finish, and mounting right from the start, you ensure your stainless steel nameplates are an asset, not an afterthought. Now go design something awesome!