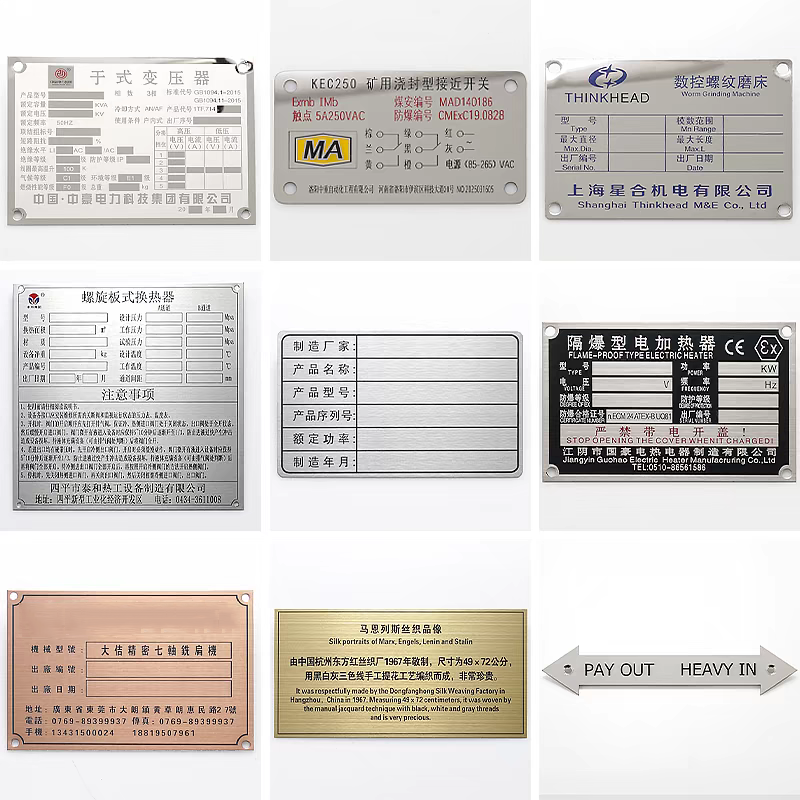
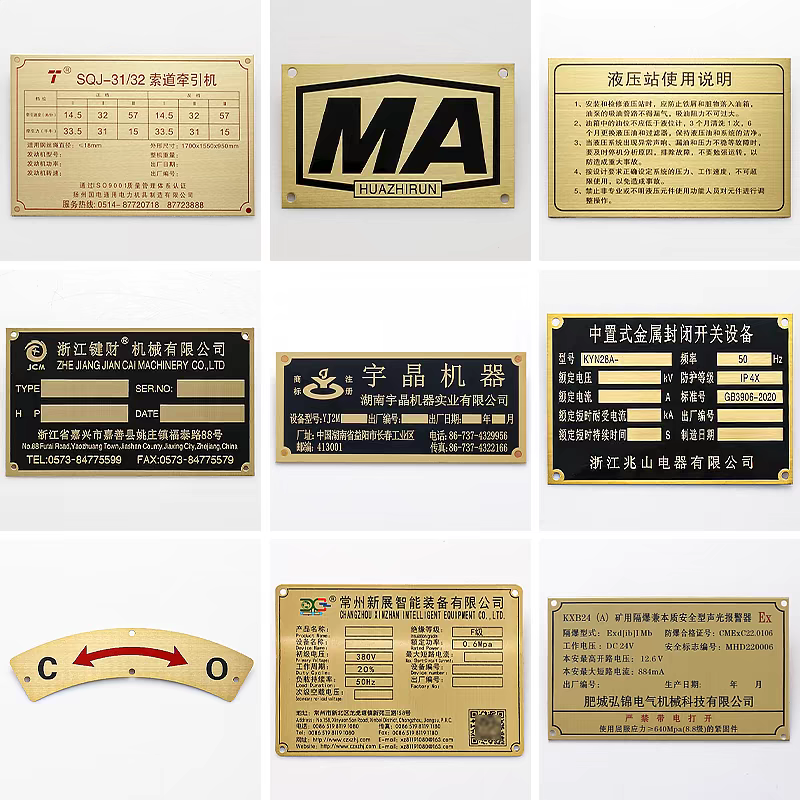
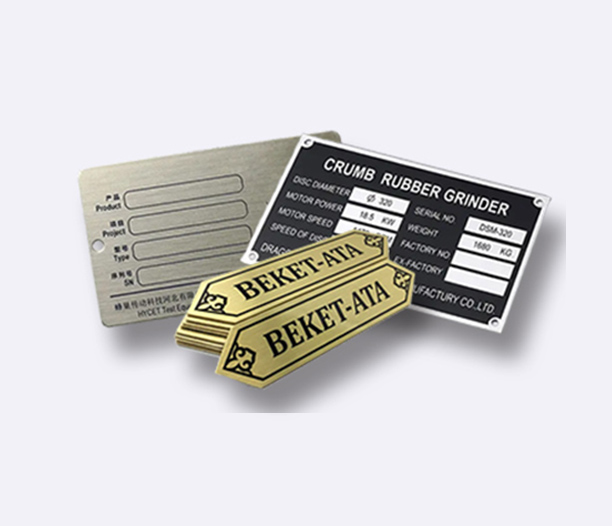
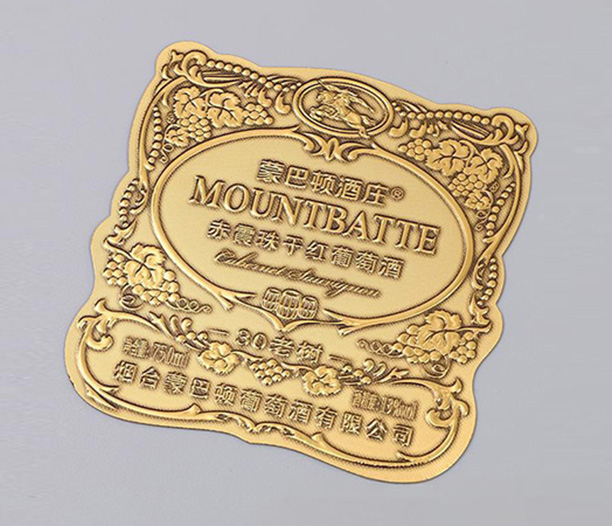
When you sit at your desk day after day, whether at home or in the office, it’s natural to want to make the space feel like your own. One simple yet effective way to do this is by creating a DIY name plate for desk. Not only does it serve a practical purpose—helping others identify your area—but it also adds a dash of personality and creativity to an otherwise mundane setup. In this article, we’ll walk through why making your own desk name plate is worth the effort, what materials you might need, step-by-step instructions, and some creative ideas to get you started. Plus, we’ll touch on cost considerations and tips to make your project a success without breaking the bank.
If you’ve ever browsed online for desk accessories, you’ve probably noticed how generic many name plates can be. By opting for a DIY name plate for desk, you’re taking control of the design, materials, and overall vibe. It’s a fun project that doesn’t require advanced skills, and the result is something uniquely yours. Let’s dive into the world of DIY name plates and explore how you can craft one that reflects your style.

Why Choose a DIY Name Plate for Your Desk?
A DIY name plate for desk isn’t just a label; it’s a statement. In today’s world, where remote work and personalized workspaces are becoming the norm, having a custom name plate can boost your sense of ownership and even improve productivity. Think about it: when your desk feels like “you,” you’re more likely to enjoy spending time there. Plus, a handmade name plate can be a great conversation starter or a thoughtful gift for a colleague.
Compared to store-bought options, a DIY name plate for desk allows for endless customization. You can choose colors that match your decor, incorporate themes that inspire you, or even use eco-friendly materials. It’s also a budget-friendly alternative—many projects cost less than $20, and you might already have some supplies at home. Whether you’re a seasoned crafter or a beginner, this project is accessible and rewarding.
Materials and Tools You’ll Need for Your DIY Name Plate
Before you start, gather your supplies. The beauty of a DIY name plate for desk is that you can adapt based on what you have available. Here’s a basic list to get you going:
Base material: Wood, acrylic, metal, or even recycled cardboard. Wood is popular for its rustic look, while acrylic gives a modern touch.
Cutting tools: A saw, laser cutter (if you have access), or sturdy scissors, depending on the material.
Adhesives: Strong glue, epoxy, or double-sided tape for assembling parts.
Decorative elements: Paint, markers, vinyl stickers, or engraving tools for personalization.
Finishing supplies: Sandpaper, varnish, or sealant to protect your creation.
Optional extras: Magnets or stands to attach the name plate to your desk.
Remember, the goal is to create a DIY name plate for desk that suits your needs. If you’re going for a minimalist look, you might skip the paint and focus on clean lines. For a more elaborate design, consider adding embellishments like small beads or LED lights. The key is to start simple and build from there.
Step-by-Step Guide to Making Your DIY Name Plate
Let’s break down the process into manageable steps. This guide assumes you’re using wood as a base, but feel free to adjust for other materials.
Design Your Name Plate: Sketch out your idea on paper. Consider the size—typically, a desk name plate is around 4-6 inches wide and 1-2 inches tall. Think about fonts and layout; you might want to include your name, job title, or a fun quote. This is where your DIY name plate for desk starts to take shape.
Cut the Base Material: Using your tools, cut the wood or acrylic to the desired dimensions. Safety first—wear gloves and goggles if needed. Sand the edges smooth to avoid splinters.
Add Personalization: Now for the fun part! Use paint, markers, or a wood-burning tool to write your name. Stencils can help if you’re not confident in freehand. Alternatively, print a design and transfer it using decoupage techniques. This customization is what makes a DIY name plate for desk so special.
Apply Finishes: Once the design is dry, apply a sealant to protect it from wear and tear. This step is crucial for longevity, especially if your desk sees a lot of use.
Attach to Your Desk: Use adhesive strips, magnets, or a small stand to secure your name plate. Test it to ensure it stays in place without damaging the desk surface.
This basic approach can be tweaked based on your skill level. For instance, if you’re into tech, you could incorporate a small digital display into your DIY name plate for desk. The possibilities are endless!

Creative Ideas for Your DIY Name Plate
If you’re looking for inspiration, here are a few themes to consider for your DIY name plate for desk:
Nature-Inspired: Use reclaimed wood and add leaf patterns or earthy tones. This brings a calming vibe to your workspace.
Modern and Sleek: Opt for acrylic or metal with clean, engraved text. Pair it with a monochromatic color scheme for a professional look.
Vintage Charm: Distress the wood with sandpaper and use old-fashioned fonts. Add a touch of gold paint for an elegant finish.
Interactive Elements: Incorporate a small chalkboard section so you can update your message daily. This adds functionality to your DIY name plate for desk.
Don’t be afraid to mix and match ideas. The best part about a DIY name plate for desk is that it evolves with your tastes. You can always remake it if you want a change!
Cost Considerations for Your Project
One of the biggest advantages of a DIY name plate for desk is its affordability. Store-bought name plates can range from $15 to $50 or more, but with a DIY approach, you can often keep costs under $10. Here’s a rough breakdown:
Basic materials like wood and paint: $5-$15
Tools (if you need to buy them): $10-$20, but these can be reused for other projects
Optional decorative items: $5-$10
To save money, repurpose items from around the house—old picture frames, scrap wood, or even bottle caps can become part of your design. The key is to plan ahead and avoid overbuying. A DIY name plate for desk doesn’t have to be expensive to be effective; it’s the personal touch that counts.
Tips for a Professional-Looking Finish
Even if you’re new to DIY, these tips can help your name plate look polished:
Measure Twice, Cut Once: Precision avoids wasted materials and ensures a clean look.
Use High-Quality Adhesives: This prevents your name plate from falling apart over time.
Test Colors on a Scrap Piece: This helps you avoid mistakes on the final product.
Keep It Balanced: Ensure the text is centered and legible from a distance.
Remember, the goal of a DIY name plate for desk is to reflect your personality, so don’t stress over perfection. Small imperfections can add character!
Common Questions About DIY Name Plates for Desk
At the end of the day, you might have some questions. Here are a few frequently asked ones to help you out:
Q1: What is the easiest material to use for a beginner making a DIY name plate for desk?
A1: Wood is often the easiest material for beginners because it’s readily available, easy to cut, and forgiving with mistakes. You can use pre-cut wooden plaques from craft stores to simplify the process even further.
Q2: How can I make my DIY name plate for desk durable?
A2: Apply a clear sealant or varnish after finishing your design. This protects against scratches, moisture, and fading. For outdoor or high-use areas, consider using weather-resistant materials like treated wood or acrylic.
Q3: Are there eco-friendly options for a DIY name plate for desk?
A3: Absolutely! Use recycled materials like cardboard, old jars, or reclaimed wood. You can also opt for water-based paints and natural finishes to reduce environmental impact.
Q4: Can I create a DIY name plate for desk without power tools?
A4: Yes, many projects require only basic hand tools like scissors, sandpaper, and brushes. For cutting, you can often have materials pre-cut at hardware stores or use alternatives like thick cardstock.
Q5: How long does it typically take to make a DIY name plate for desk?
A5: Depending on the complexity, it can take anywhere from 30 minutes to a few hours. Simple designs might be done in one sitting, while more detailed ones could involve drying times between steps.
In conclusion, crafting a DIY name plate for desk is a rewarding project that blends creativity with practicality. It’s a chance to infuse your workspace with personality without spending a fortune. So, gather your supplies, let your imagination run wild, and start building a name plate that truly represents you. Happy crafting!


