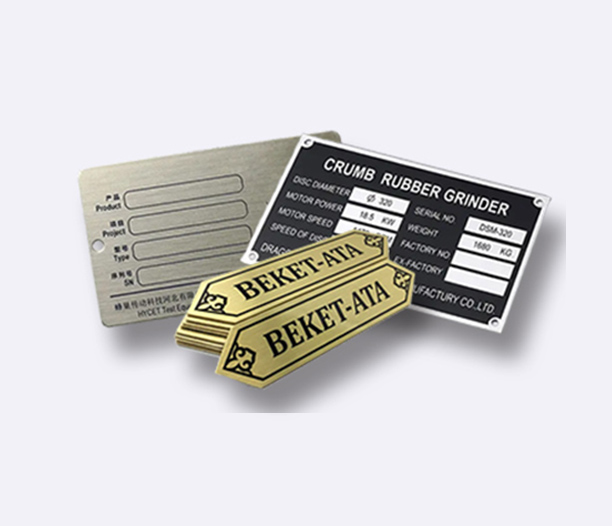
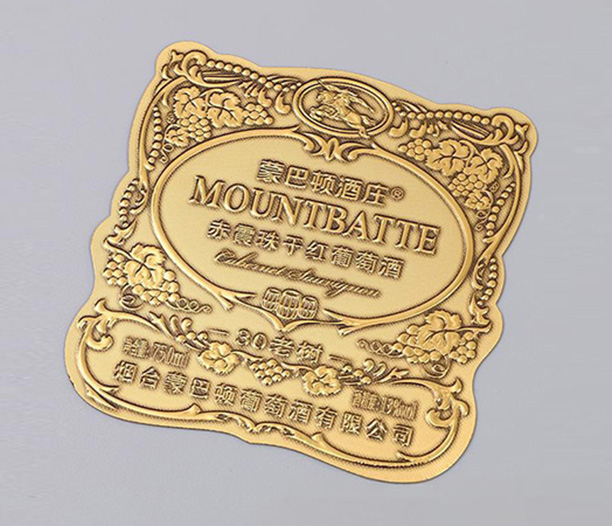
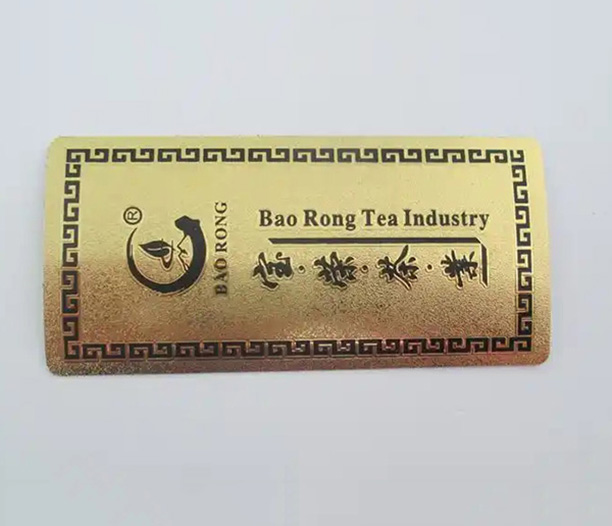
Alright, let's talk Aluminum Nameplates. You didn't spend good money on these durable, professional-looking tags just to have them peel off, look crooked, or get damaged in a year, right? Whether it's for equipment ID, branding on machinery, safety labels, or asset tracking, how you install those Aluminum Nameplates is just as crucial as choosing the right material in the first place. Mess up the install, and you've wasted your investment. Get it right, and those plates will look sharp and last for decades. Let's break down how to nail it, step-by-step.
Why Bother with a "Perfect" Install? (It's Not Just About Looks)
Sure, a crooked Aluminum Nameplate looks unprofessional. But the stakes are often higher:
- Durability Promise: Aluminum is tough, but a bad install undermines its weather, chemical, and abrasion resistance. Gaps let moisture and gunk in.
- Legibility & Compliance: Safety info, serial numbers, or electrical ratings must stay readable. Peeling plates = failed inspections or operational risks.
- Security & Permanence: Tamper-evident or permanent ID plates are useless if they pop off easily.
- Brand Image: A pristine, perfectly mounted plate screams quality. A sloppy one? Not so much. Getting your Aluminum Nameplates installed correctly protects your entire investment.
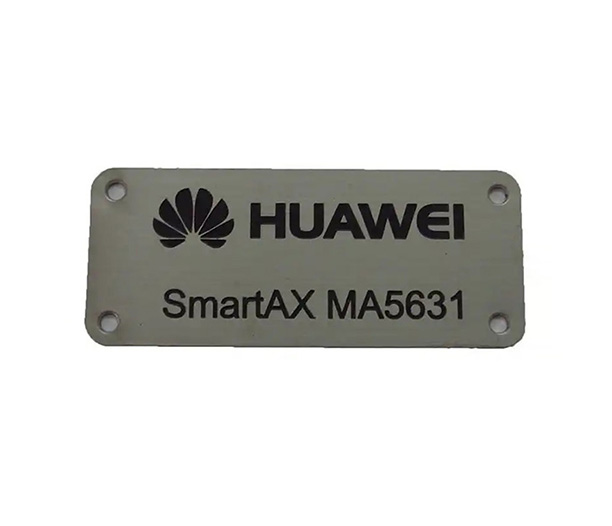
Gear Up: What You'll Need for a Flawless Install
Don't wing it! Having the right tools makes all the difference:
- The Stars: Your Aluminum Nameplates (obviously!).
- Cleaning Crew: Isopropyl alcohol (70%+), Lint-free cloths or wipes (cheap paper towels leave fibers!), Possibly a mild degreaser (like Simple Green) for oily surfaces. Skip harsh solvents!
- Surface Prep: Fine-grit sandpaper (like 220+ grit) or Scotch-Brite pad (if needed for adhesion), Clean gloves (oily fingers are the enemy!).
- Adhesive Power (Most Common Method): High-performance double-sided tape (VHB tape from 3M is the gold standard – don't cheap out!), Possibly a primer/promoter (like 3M Primer 94) for tricky plastics or painted surfaces.
- Mechanical Mounting (If Needed): Drill & correct bits (for aluminum and the mounting surface), Rivets, screws, or stand-offs (stainless steel is best!), Sealant (like silicone) for holes if weatherproofing is critical.
- Positioning & Alignment: Measuring tape, Level (a small torpedo level is perfect), Painter's tape (for marking & holding), Pencil or marker (lightly!).
- The Finishing Touch: A J-roller or hard plastic squeegee (to press out air bubbles and ensure full contact).
Pre-Install Prep: The Make-or-Break Step (Seriously, Don't Skip This!)
This is where most installs go wrong. Rushing prep guarantees failure. Your Aluminum Nameplates demand a pristine surface.
- Surface CSI: Thoroughly examine the mounting spot. Is it metal? Plastic? Painted? Powder-coated? Curved? Textured? Dirty? Greasy? Rusty? Know your enemy.
- Deep Clean Like You Mean It:Wipe off loose dirt/dust.Degrease: This is HUGE. Spray isopropyl alcohol liberally on a lint-free cloth (not directly on the surface to avoid runoff into electronics). Wipe firmly in one direction. Flip the cloth. Wipe again. Repeat with fresh cloths/cloth areas until zero dirt comes off. Oily residues kill adhesion. For heavy grease, use a mild degreaser first, then follow with IPA.Dry Completely: Let it air dry or use a clean, dry lint-free cloth. No moisture allowed!
- Surface Roughening (Sometimes Necessary): Is the surface super smooth (like polished metal, glass, or some plastics)? Or painted/powder-coated? Lightly scuff it with fine sandpaper or Scotch-Brite just enough to create a slight texture. Wipe away ALL dust with IPA afterward. Don't overdo it and damage the surface!
- Primer/Promoter (For Tricky Surfaces): Applying plastic or powder-coated metal? Using a primer/promoter (following its instructions!) can dramatically boost adhesive bond strength. Apply sparingly to the surface, let it flash off (get tacky) as directed, then apply the tape/plate.
Choosing Your Weapon: Adhesive Tape vs. Mechanical Fasteners
- Adhesive Tape (VHB is King): This is the go-to for most Aluminum Nameplate installs. It's clean, fast, provides excellent vibration resistance, and seals the back. Choose the right VHB grade (3M has guides – consider temperature, surface type, and plate size/weight). Use tape that covers at least 80% of the plate's back surface area.
- Mechanical Fasteners (Rivets, Screws, Stand-offs): Choose this if:The surface temperature exceeds the tape's rating.Extreme physical abuse is expected (like constant scraping).The plate is very large or heavy.Tamper-proofing is essential (special fasteners).The surface is porous or otherwise unsuitable for tape.Downsides: Creates holes (potential corrosion points), requires more tools/time, can look less sleek. Always use corrosion-resistant fasteners (stainless steel) and seal holes if outdoors.
The Main Event: Step-by-Step Installation Guide
For Adhesive Tape Mounting:
- Prep the Plate (Backside): Wipe the back of the Aluminum Nameplate with IPA to remove any protective film residue or oils. Let it dry.
- Apply the Tape (Clean Room Style): Cut VHB tape pieces to size (often strips around the perimeter and an 'X' or dots in the middle work well). Peel one liner off the tape. Carefully apply the tape to the back of the plate, pressing firmly. Avoid touching the sticky side! Remove the second liner just before mounting. Pro Tip: Leave small "handles" of liner sticking out when you cut the tape, so they're easy to grab later.
- Positioning is Paramount: Use your measuring tape, level, and painter's tape to mark the exact position on the surface. Create a "frame" with painter's tape to guide placement. Double-check! Measure twice, stick once.
- The Moment of Truth - Sticking It: Align the plate perfectly within your painter's tape guide. Start at one edge and slowly, smoothly press the plate onto the surface, working your way across to avoid trapping air bubbles. Apply firm, even pressure as you go.
- Roll It Like You Own It: This is critical! Use your J-roller or squeegee. Apply significant pressure and roll/press firmly from the center outwards in all directions. Cover every square inch, especially the edges. You should hear a slight squeaking. This ensures maximum contact and activates the adhesive. Roll multiple times.
- Initial Cure: VHB tape needs pressure and time to develop full strength. Keep firm pressure on for at least 30 seconds after rolling. Avoid stressing the plate or exposing it to harsh conditions for the time recommended by the tape manufacturer (often 24-72 hours for full bond). Use painter's tape as temporary "clamps" if needed on edges.
For Mechanical Fastener Mounting:
- Mark & Drill (Plate First): Hold the Aluminum Nameplate precisely in position. Use a center punch or sharp nail to lightly mark the hole locations through the plate's mounting holes onto the surface. Double-check alignment! Remove the plate.
- Drill Pilot Holes: Drill pilot holes into the surface at your marked spots, using the correct size bit for your fasteners (usually slightly smaller than the fastener shank).
- Mount the Plate: Align the plate over the pilot holes. Secure it using your chosen fasteners (rivets, screws with washers, stand-offs). Don't overtighten screws – you can warp the plate or strip threads! Rivets should be set firmly but not so hard they distort the aluminum.
- Seal the Deal (Weatherproofing): If outdoors or in wet environments, apply a small bead of high-quality sealant (like silicone) around the base of the fastener head and any exposed hole edges before fully tightening/setting. Wipe away excess immediately.
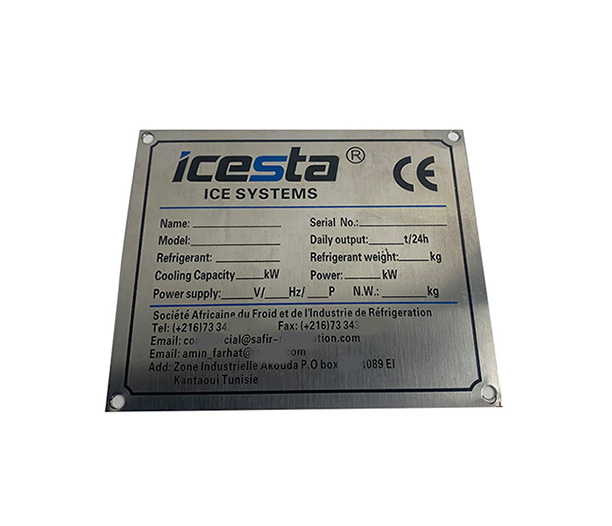
Pro Tips & Troubleshooting for Stubborn Situations
- Curved Surfaces: Use narrower strips of VHB tape. Apply the tape along the curve, not across it. Use a flexible VHB grade. Roll meticulously, following the contour. Primers help immensely here. Sometimes flexible adhesive films work better than rigid foam tapes.
- Textured Surfaces: Ensure the texture isn't too deep. Use a thicker VHB tape or foam tape that can compress into the texture. Primers are essential. Consider mechanical fasteners if texture is extreme.
- Low Surface Energy Plastics (PP, PE, Teflon): These are notoriously hard to bond. Surface prep (flame treatment if possible/safe, or thorough scuffing) is non-negotiable. Using the correct and compatible primer/promoter is absolutely critical. Test adhesion first!
- Hot Surfaces: Ensure both the plate and surface are below the tape's max application temperature. Use high-temperature VHB tape (like 3M 4611). Mount when the equipment is cool if possible.
- Plate Feels Loose After Install? You likely didn't apply enough pressure during rolling. Immediately remove it (carefully pry with a plastic tool), clean both surfaces again with IPA, apply fresh tape, and reinstall with MUCH more rolling pressure. Don't try to just press it down again.
- Avoiding Bubbles/Wrinkles: Apply slowly and evenly. Use the roller aggressively from the center out. If a small bubble appears, you can sometimes pierce it gently with a pin and roll the air out.
Post-Installation Check & Longevity Care
- The 24-Hour Check: After the initial cure time, give each Aluminum Nameplate a gentle but firm tug at the corners. It shouldn't budge or peel. Check alignment and levelness.
- Keep it Clean: Periodically wipe plates down with mild soap and water or IPA to remove dirt and grime that can degrade the edges over time. Avoid harsh abrasives.
- Inspect: Make checking the security of critical Aluminum Nameplates part of routine equipment maintenance, especially in harsh environments.
Wrapping It Up: Install Right, Enjoy the Results
Installing Aluminum Nameplates isn't rocket science, but it does demand attention to detail, the right materials (especially that VHB tape!), and proper technique. Skimping on prep or rushing the install is a surefire way to waste money and end up with plates that fail prematurely. By following these steps – meticulous cleaning, smart adhesive selection (or proper mechanical fastening), precise positioning, and relentless pressure during bonding – you'll ensure your Aluminum Nameplates look professionally installed, perform flawlessly, and deliver lasting value for years, maybe even decades, to come. Now go get those plates mounted like the pro you are!


